

I finally got around to finishing off my side of the road directors chairs- was it really back at the beginning of March that I picked these up by the side of the road?
I had three left to do (after doing one for the bathroom)and after consulting with a child who will give me a sensible and honest opinion and not an "I don't know" or "who cares", decided to add a number to each of them.
This was my first foray into the world of freezer paper printing.
Why did it take me so long you may ask.
Well in Australia you just can't buy freezer paper at the supermarket, well not the kind that you can use for stencils anyway, so after a search on the net I found out that I could buy it at Spotlight.
Now Spotlight is over an hour away so I had to wait until I was going that way.
On Monday we took a 3hr drive to pick our big boys up from ag camp and thankfully even though it was a public holiday Spotlight was open, so I did a dash in and out in pouring rain and bought some freezer paper at $1.50 per m.
So here is a tutorial for those Australians and any others who have not yet discovered the wonders of freezer paper stencils.

I tried printing this directly onto the paper but it wouldn't go through the printer without some fiddling and as was was anxious to get into it I just traced my number onto the freezer paper.

and cut it out

to create my stencil.

I used paper clips to hold it in place

and then ironed it onto the fabric

and then painted inside the stencil using a black fabric paint

I left it to dry before carefully pulling off the freezer paper

and then ironed it for 5 minutes to set the paint, I used a piece of baking paper under the iron.
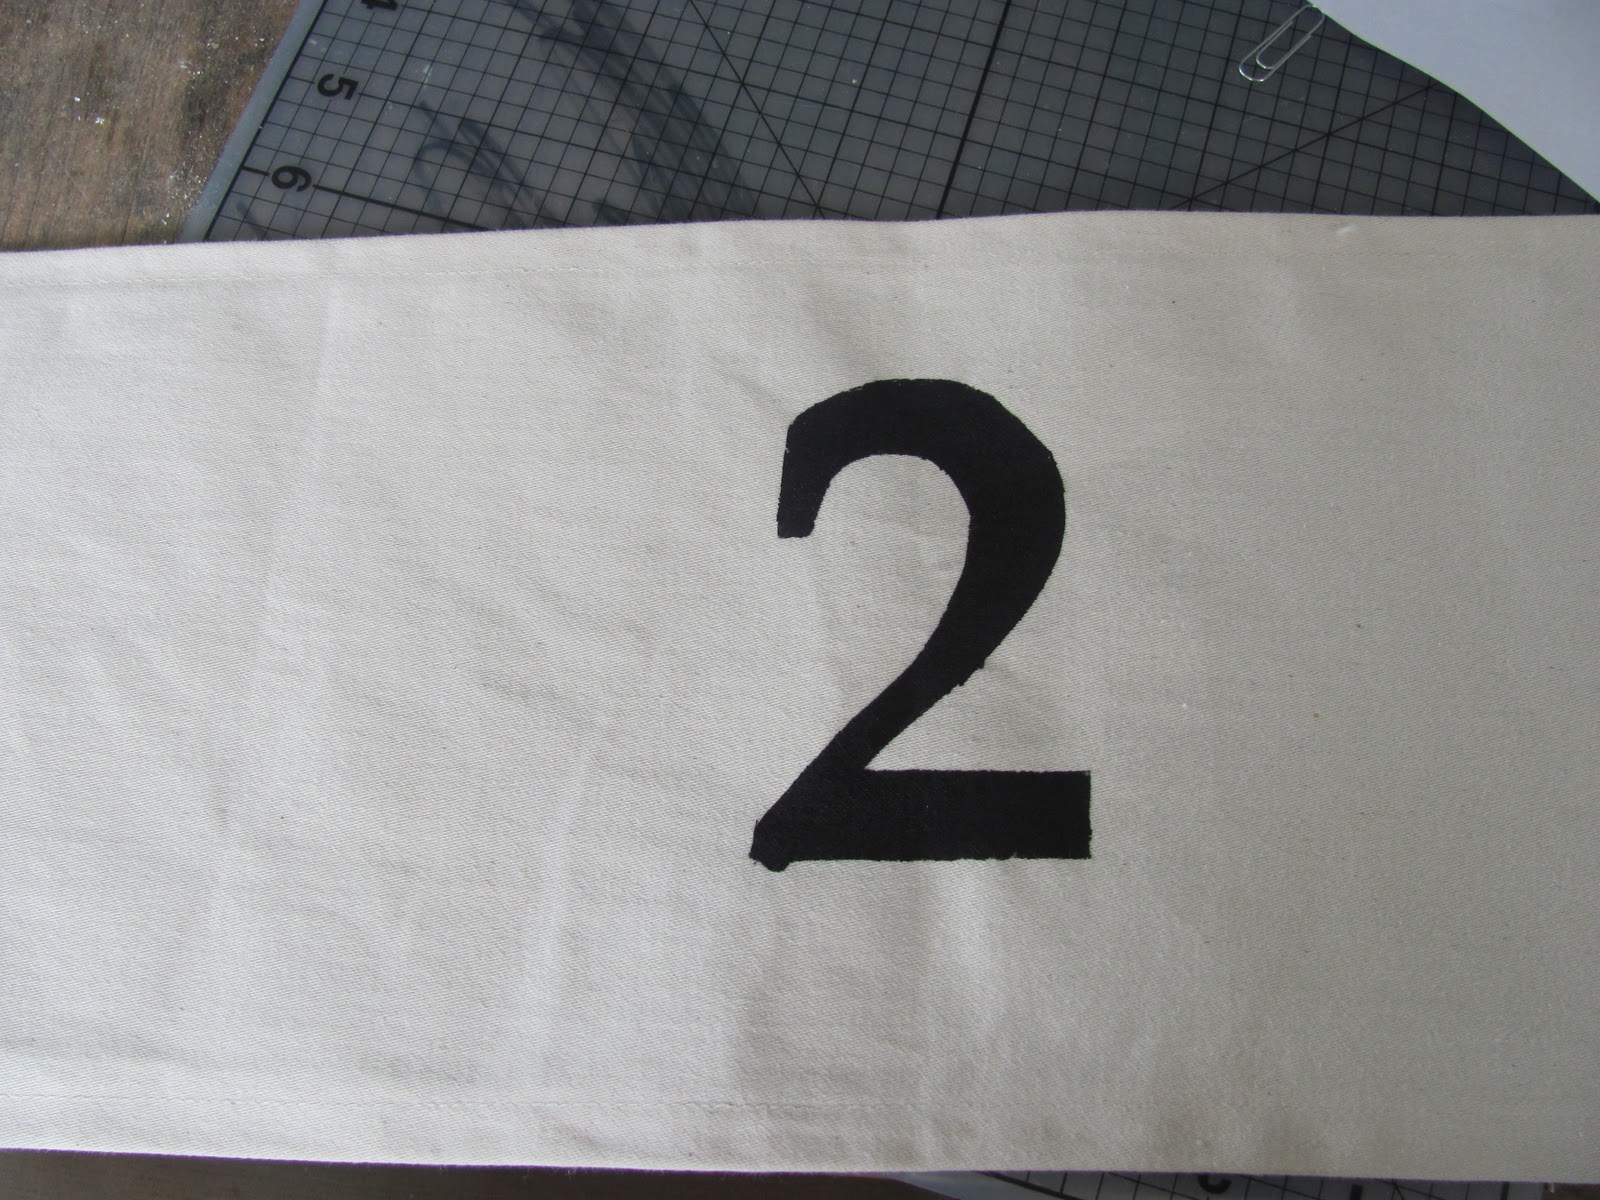
Done- notice the little leak at the bottom, make sure you don't leave any wrinkles in the stencil when you iron it on

and my next tip don't leave the iron on the fabric and walk away as you could scorch it- can you see the iron mark on the 3?

Here is the finished product on the chair

Of course I had to set the scene by taking the photos up at the pool

I am pretty thrilled with my first effort at freezer paper printing.

So if you haven't tried it yet, don't be afraid -it's easy!

Sharing at:


Those are really, really cute. They are so clean and crisp! I wouldn't have any idea (I'm in America) where I could get that freezer paper. So we're not so different. :)
ReplyDeleteYour blog is so great. I'm going to go look around. Thanks for sharing your chairs. Lisa~
Great Idea. Wow a side of the road find. that is amazing. Those chairs are lucky they found you. ;-).. thanks for dropping by and commenting. Be blessed.
ReplyDeleteI just love the white with black contrast. Nice
ReplyDeleteThey look fantastic! What a great idea!!! :-)
ReplyDeleteThey look beautiful! Fantastic idea and they came out so charming! :)
ReplyDeleteThe chairs are terrific! The tips are so helpful, and the imperfections you point out just add to the charm.
ReplyDeleteGreat find! Love what you did with them- so cute. I didn't know that you couldn't buy freezer paper in Australia; glad you were able to get a hold of some for your project!
ReplyDeleteFabulous Deanne
ReplyDeleteAnd.. do you have an aspiring artist or designer in the family? great contribution from the kids... I see you are North Coast NSW... just where I would like to be [I'm in Sydney].. though maybe you are having floods right now?? haven't been keeping up with the news..
Ok.. great chairs.. love it... Have a wonderful week xxx Julie
They're fantastic, Deanne! Don't you just love shopping by the side of the road? You can't beat those "roadside" prices. ;)
ReplyDeleteThanks for the great tutorial. I'm one of those who has never heard of using freezer paper for stencils.
Thanks for linking to my party. I look forward to having you join me each week.
Liz @ the Brambleberry Cottage
http://thebrambleberrycottage.blogspot.com/
Hi Julie,
ReplyDeleteNo floods at the moment- though we have had lots of rain!
Liz, Thanks for hosting!
LOVE them :) You did a great job
ReplyDeleteWhat a great find on the side of the road... and those numbers look great!
ReplyDeleteThese turned out great -and a great deal!
ReplyDelete