Thank you for dropping by five brothers one sister, please stop for a browse.
Don't be shy if you enjoyed a post please leave a comment, join my followers list or follow by email.
I love hearing from anyone who visits.
God Bless,
Deanne

Showing posts with label repurposing. Show all posts

Thursday, November 7, 2013

dandelion dreams

 Today I thought I would share a piece I did recently and just loved.
In fact if I had a smaller family I would have been tempted to keep it.

It started out when I picked up 6 chairs at a local op shop for $40.
 I decided to find a table to match them.
I found a table on a local buy swap and sell Face Book site, it was extendable, although I don't think it would work well to sit 6 around it as you would have to sit with your legs either side of the table leg.
(sorry can't seem to find a piccy of the original)
I decided that I would just do up 4 chairs to match and keep the other 2 chairs for something else.
I had it in my mind that I wanted to paint the chairs black and have the seats in a white fabric with a black motif. 

When saw this dandelion fabric I fell in love!
Thinking about the table I decided I would do black legs with a white top.
With my mind whirring away (as it tends to do at times) I thought it might be cool to go one step further 
and put a dandelion on the table top.
This was quite a huge step for me as I am no artist.
But I decided that a dandelion should be simple to draw so why not give it a go, 
if it didn't work I would just paint over it and no one would be any wiser!

I tried keeping the dandelions fairly similar to the fabric,
 painting (or rather drawing with a thick black sharpie) two large dandelions on either side of the shut table.

 
I then opened up the table and  drew two smaller dandelions, 
again similar to the fabric as it also had dandelions of various sizes.
I took this piece to the markets on Saturday and it was greatly admired.
It didn't sell on the day but a lady who saw it and loved it, rang me on Monday to see it had sold and has since purchased it and VCH delivered it to it's new home this morning.


(apologies if you notice the watermarks say redeemed, I usually watermark for both when I edit them, but I must have been in a hurry and only did the one and couldn't be bothered to go back and edit all the photos again this morning)




By Stephanie Lynn

64170_4719850152887_625893102_n_thum
FFF

Monday, November 4, 2013

market makeovers

 Here are a few  make-overs that came to the markets with me on Saturday.

This box came to me without a base, bit it was solid and heavy.
We put a new base and some castors on it and painted grey inside and used homemade white chalk paint on the inside.

It was then heavily distressed and I applied decals to the front,

and the back, with a grocery theme.
If it didn't sell I was going to bring it home to use to store wood next to the fireplace, but someone loved it and it is on it's way to a new home.

 I picked this stool up at an op shop 

 and repainted it grey and added this Parisian fabric,
 it went home with a little girl who happened to have a quilt in the same fabric.

 I can't seem to find a before shot of this chair, maybe because we has to fix the front legs so it sat upside down on a table for a while.
The original fabric was green and while it was in fairly good condition on the top it was ripped at the bottom.
I sprayed it charcoal with an upholstery spray paint.
I sprayed the woodwork with a an almost identical colour and then I painted on Miss Mustard Seed's Milk Paint in Ironstone over the top and then distressed it.

 We reupholstered the base in the same Parisian fabric. 
VCH has bought a staple gun for the air compressor and that made the job super easy, I held the fabric and he stapled it on.
  I covered up a couple of little holes on the top part with a small piece of the fabric.
It has gone to a salon in town.
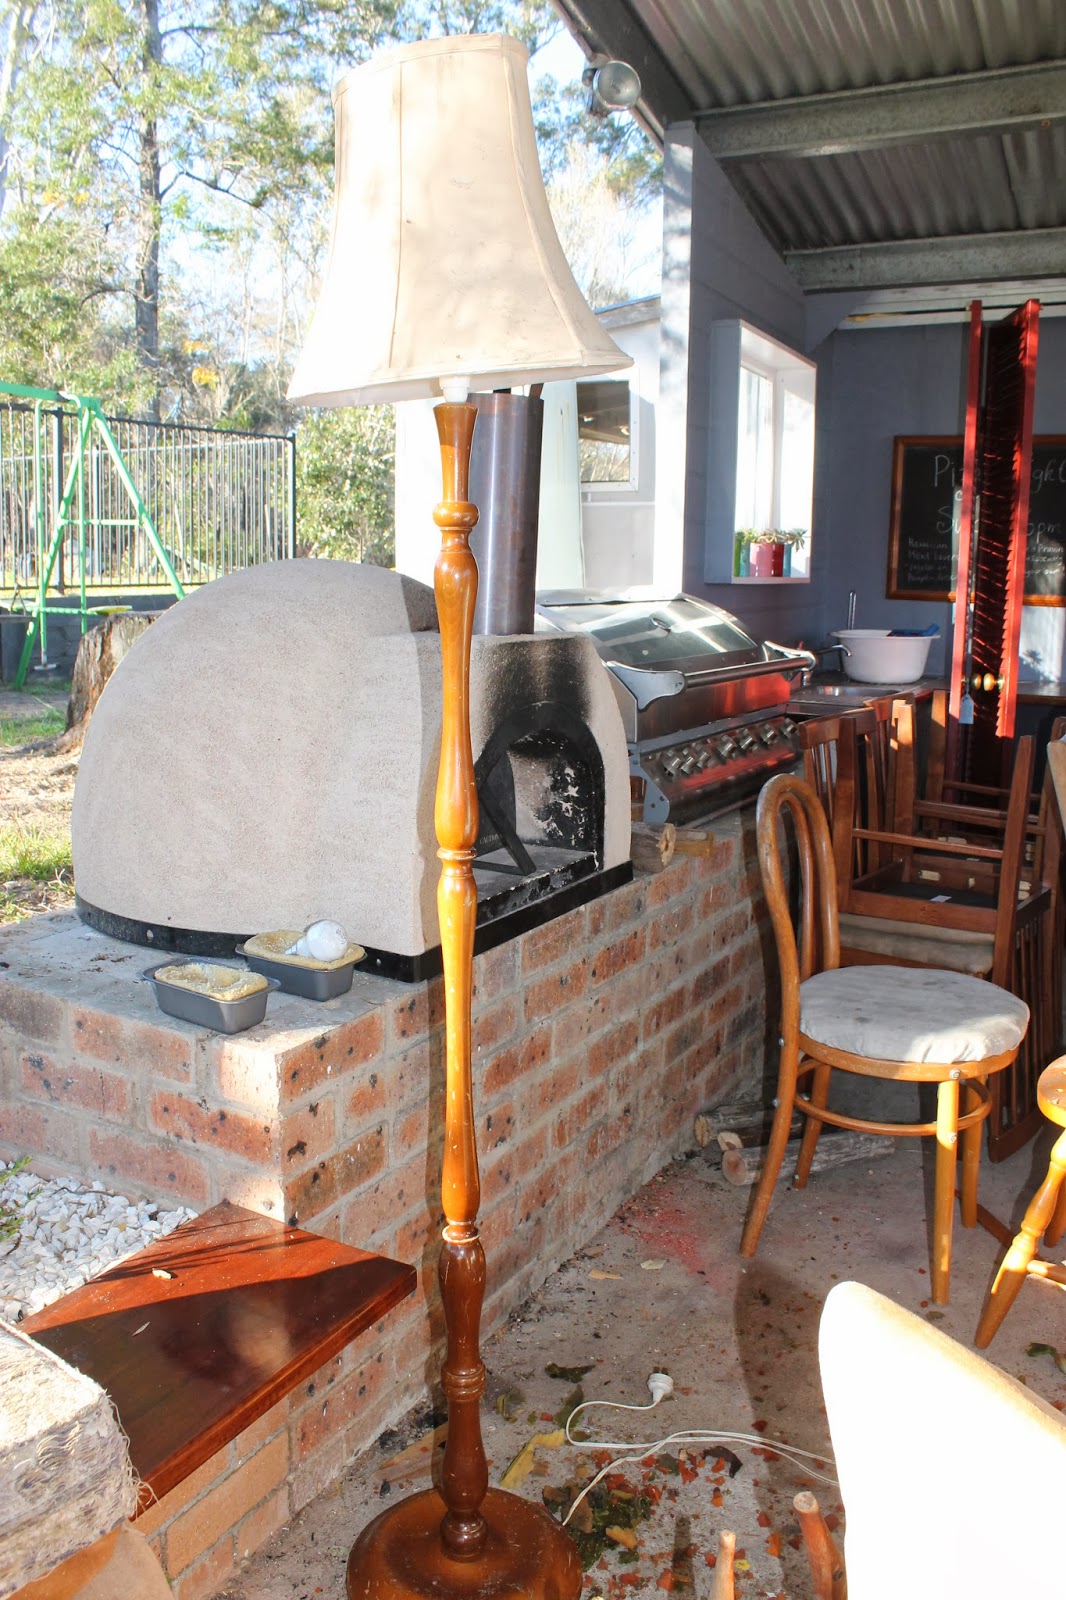
 Here is a lamp that we were also given. It just needed a little gluing to get it right and then I painted it in the same charcoal colour,

and made a new lamp shade for it.
This was the tricky part, but I think it came out OK for my first time.

 Here is the completed lamp.
It came home with me, but that's OK as there is always a next time!

For those of you who are going to ask, 
I had a fabulous position at the markets right on a corner where everyone has to go past and that meant a two sided frontage. 
The sites are huge 5m x 5m so plenty of room to spread out!
I sold quite a lot of stuff and made a nice profit.

shared at:

By Stephanie Lynn

Shabbilicious-Friday Christmas
 FFF
Antique, Vintage and Repurposed Decor Knick of Time Tuesday link party at KnickofTimeInteriors.blogspot.com
64170_4719850152887_625893102_n_thum

Monday, December 31, 2012

12 from 2012

So here we are on the last day of 2012 before heading into 2013
 I thought I would list 12 of my favourite activities/projects from 2012.

One of my favourite things was The Girl's 5th Birthday Party.

The party details managed to cover four posts

Next would be my sewing room reveal.


Wish it looked this neat all the time!
Go here and here.

I shared B2's bedroom here:

There was of course my fantastic hallway project that resulted in this beauty

I also had lots of fun with B4's 10th birthday spy party

 
 I showed my love of shutters in this post
I don't actually know that this is technically one of my favourites but it comes in third in my stats behind my vintage sewing room (second) and the ever popular spice angel tutorial from 2010

 I enjoyed sharing one of the most used spaces in our home:

 My big exciting project of the year was launching "redeemed"
I am still excited about its success and am looking forward to new possibilities in 2013.

Some of my favourite recipes that I shared were:

 The ever popular snickers ice cream


It is still a family favourite with requests for it at least once a week even though it is summer.

Gluten free gingernuts oh how I love thee!

So there it is, a quick review of 2012, though looking through there are so many favourites that I found, particularly some of my more recent "redeemed" items.

I am so looking forward to all that 2013 has to offer and the exciting places it may lead!
Wishing you all a Happy New Year!

Tuesday, November 27, 2012

how to make your own bunting

 Last week when I showed you the bunting I had made I said I would come back with a tutorial on how to make your own fabric bunting.
This is a very simple sewing project that only requires that you can sew a straight line 
(and mine aren't always that straight!).
While it is not a five minute job it can be done in about an hour.
The wonderful thing about this bunting is that it will last for years to come.
Now over the years with my obsession with bunting this is the way I have found gives the best result.
I have tried cutting the fabric with pinking shears and then sewing it together- this means that you don't have to turn the triangles in the right way, but inevitably you have to re-pink all the triangles because they don't match up and I found that very frustrating and time consuming.
I have also overlocked the edges and this works well, 
but not everyone has an overlocker and because I am selling these I think should look a little more finished.
Feel free to experiment and try other methods but this is the one I go back to time and again.

Onto the tutorial:
First you need some fabric, I used op shopped Christmas sacks that I washed.
Use whatever fabric you want- new, used or scraps,  
I have seen some very pretty scrap fabric bunting.

 Now out of thick cardboard make yourself a template, I used an old box here.
I have used this particular template for all my bunting.
It is about 14.5cm at the base and the height is 18cm.
This is not a magical number I think I just made a triangle about the size I thought a piece of bunting should be.
Just make it whatever size works for you.

 Double your fabric with right sides together and wrong sides facing out.
Trace around your template with a pencil flipping it to get as many triangles as possible.
Cut out keeping your two pieces together.

 Sew down the two sides of the triangle.

 Trim the point.

 Turn in the right way

 Then put something into the point to make it nice and sharp.
I used the end of my scissors, but a skewer works well too.
This step is important if you want a neat finish.

 
Now iron them all nice and flat.
This is your last chance to check your points and fix any that are not pointy enough!

 Once they are all ironed I like to lay them out on a flat surface and arrange them how they look best, 
this is especially important if you have a mix of colours.

Now you are ready to sew.
 Fold the bias binding I use 25mm (1inch) wide  in half and sew along to make your ties, I make mine between 20-30cm long.
Then it is just a matter of putting your triangle into the middle and making sure you have an even amout of bias binding on each side and sew. 
I find it easiest to just catch the triangle with one or two stitches and then stop and line it all up and then hold it in place while I sew along to the end of the triangle.
However, if you are not confident you may like to pre iron your bias binding in half (some come pre ironed)
and pin your triangles in place before sitting down to sew.
.
I tend to make my bunting between 2.5 to 3 metres long, you may wish to make yours longer. 
You can space them apart or have them closer together.
There is about 5cm between each of mine, but I think the next one I do I will place them a bit closer together.

So there you have it a step by step guide to creating your own pretty fabric bunting.
Now go forth and create!


sharing at: