
Hi all my very patient followers,
sorry it has been long time no blog post.
There are lots of excuses why I haven't been in this space for the last 6 weeks.
1. busy
2. lost a months worth of photos in two computer change overs.
3. busy
4. frustration at loss of photos
5. busy
6. just can't seem to get my blogging mojo back
7. busy
8. having trouble uploading photos due to very slow internet. Techno boy (B2) tells me that it is due to the powers that be overloading the satellites in anticipation of the NBN satellite being launched.
I can load stuff on to facebook from my phone, but a normal photo even after editing to make it smaller, takes forever, grrr, you people with broadband just don't know what you are missing having to deal with stupid satellite internet!
8. lazy
9. frustrated by all of the above.
10. did I say I had been busy?
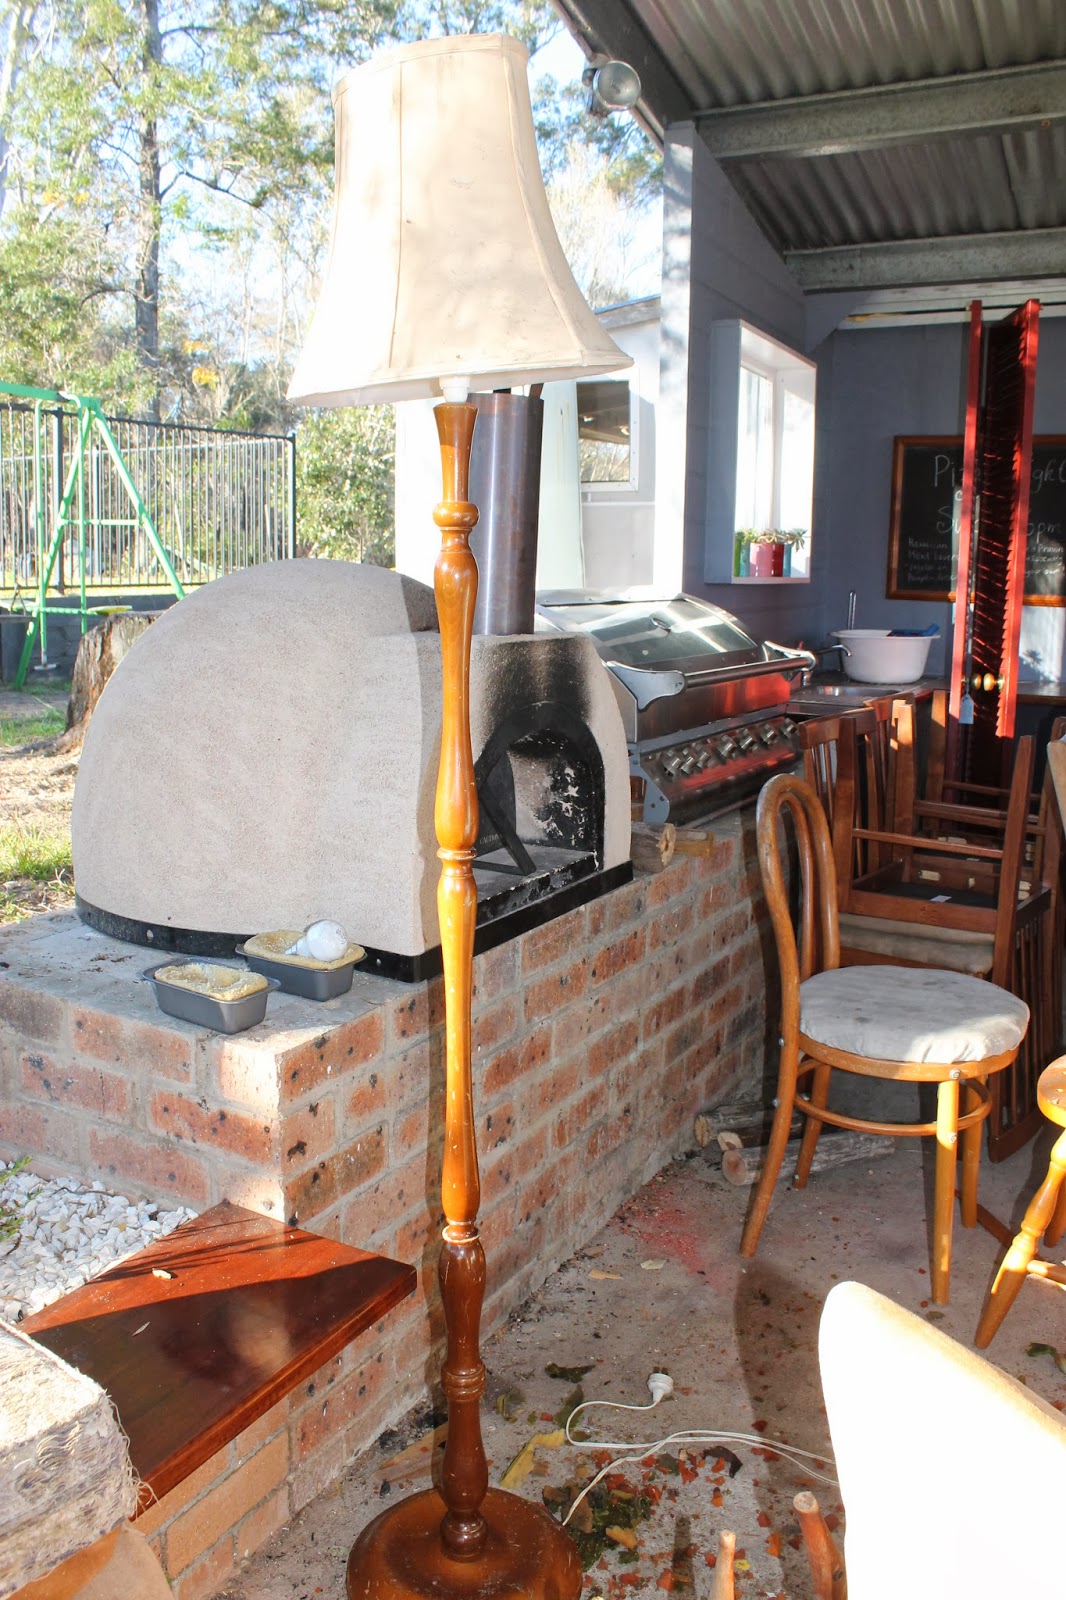
I have been busy doing some redeemed commission pieces as well as a few other things, like desks and the like and then there has been the repainting of my bedroom furniture (a project just for me) which of course is leading to a whole makeover in that area!.
Now we about to fly the coop for a 2 week vacation at the beach, just 7 of us this year as B1 has to work, makes it easy for us in looking after the mail, cats and plants though!
I hope to get a couple of little things scheduled before I leave, if not I will endeavour to back in this space regularly in a fortnight.
(photo was cut and pasted from previous blog post)


 Here they are previously in The Girl's room.