Thank you for dropping by five brothers one sister, please stop for a browse.
Don't be shy if you enjoyed a post please leave a comment, join my followers list or follow by email.
I love hearing from anyone who visits.
God Bless,
Deanne

Showing posts with label building projects. Show all posts

Thursday, September 5, 2013

shed update

 Just thought I would share a post on how far along the shed is now.
We have painted the floors, just to give the yellow tongue a bit of protection.
We painted them in strap, which is the same colour as the house.
B4 was a big help with this.

 I am working on getting this window to work, before we install it.
It is moving up and down now, but not easily, which I don't think it ever will unless we pull it apart and redid the lot, which I don't have the time or energy for!
So I am going to work on cleaning it and VCH will probably install in on the weekend.

 Here is the other window, no it doesn't match, we couldn't get two the same, but we put this down the far end where it will only be seen if you are in the pool.
It still needs to be cleaned.
Below is the little feature the little ones did of offcuts, it was so cute I told them we would make it permanent.

 VCH has been using his new spray gun to paint the outside, so far he has done the back wall 

and the two sides.

 Once the floor was dry, I started to move my stuff in.

 I left the area where VCH still needs to install the window free.
We hung a lot of the chairs to give us more floor space.
 VCH will also build me some shelves in between the two door openings for paint and knobs and little things etc.
We still need to put the doors on too.

 But I am having trouble getting them how I want.
I want them to look all chippy and distressed, but whatever I do seems to look fake.
This is distressed, but you can hardly tell.

What I was doing on the side, wasn't working, so now it has been pretty much stripped.
I was so hoping I could do what I wanted without having to strip the doors right back, but I may have to yet!

Friday, August 16, 2013

happenings


 Here are some highlights from my week.

I am involved with a women's ministry team at church and we had a training afternoon on Saturday.
I made some cupcakes for the afternoon tea.
I of course used some of my "redeemed" cake stands to show them off.


I made gluten free red velvet fairy cakes, 
topped them with vanilla cream cheese icing and strawberry butterflies


and some Luscious Lemon Cupcakes
I also made some spinach and cheese rolls.
All my offerings were gluten free, but I didn't openly advertise that because I find some people think only people who are gluten free can eat them and I wanted to show that people wouldn't be able to tell the difference- they must have thought them OK because they were gobbled up and lots of compliments were given.

Monday the children were involved in our Annual Home Educators Sports Carnival

Here is B2 in the long jump shot in sports mode on my camera.
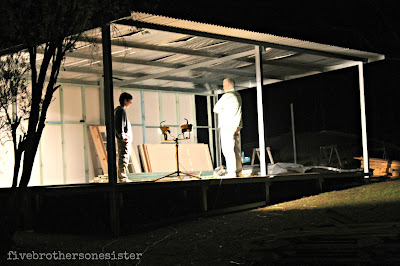
 VCH has been working on my shed, here is a night shot.

 Here is how it looks in the daylight. 
The side wall is framed up and ready for the window (you can see it there on the left) 
I was excited to find 4 doors the same which will be along the front at our local second hand building place.

Hopefully next week I will manage more than one post- have a great weekend!


Tuesday, May 1, 2012

boys bath

I don't think I have ever shared photos of the bungalow bathroom finished.

 I love the stones on the floor and the neutral colour of the tiles, they are called "silk mocha".

 Here is a close up of the ones above the sink.

The vanity, 
I realise that none of the photos include the mirror for some reason.

 
 The shower.

 The wall was rather blank and boring,
 not that it worried the boys of course, 
but I wanted to put something up there. 
I am thinking of a sepia coloured photo of something from nature,
 but I haven't found what I am after yet.

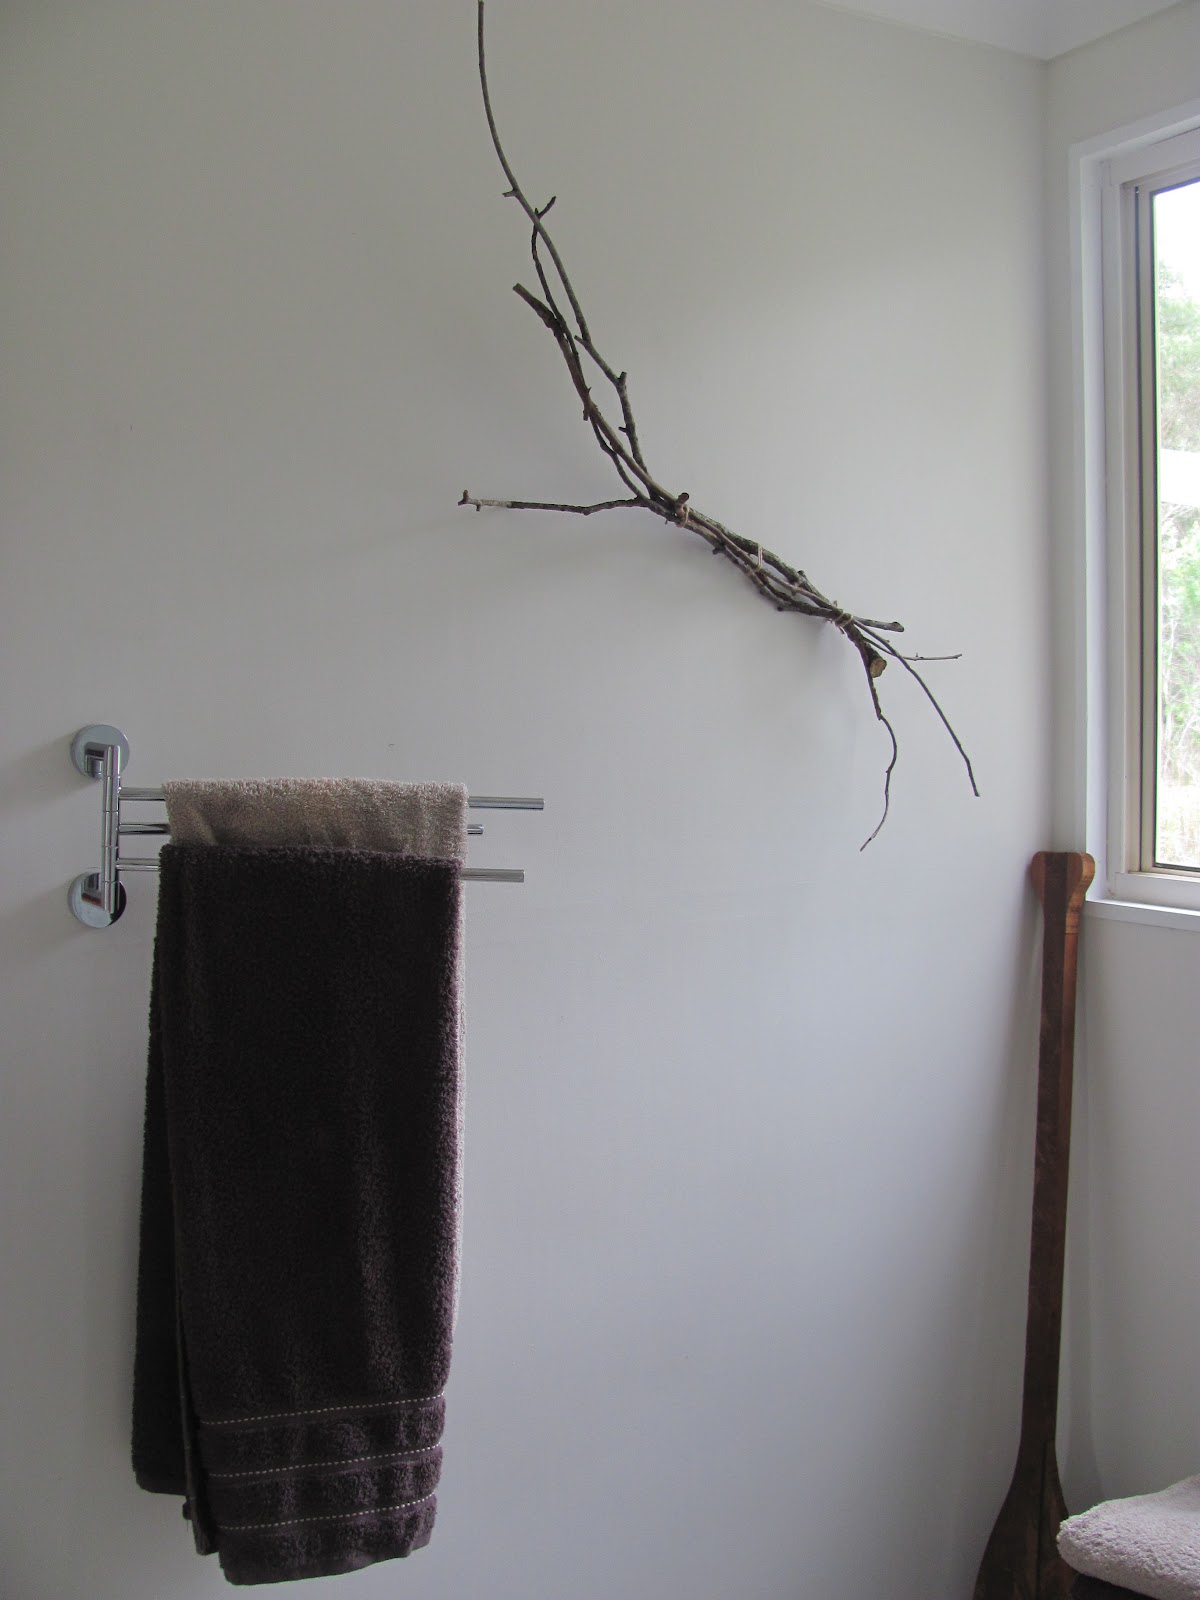
 Inspiration hit the other day and I grabbed some sticks from the yard and some twine and 

 hung it off a nail.

It's a temporary solution but I quite like it.

 I grabbed this old chair and some towels and this unfinished oar that I picked up at a garage sale a while back, to make the room look a little more interesting.

I would like a little bench for this spot but I need to go on a trip to IKEA 
and as I don't see that happening for a while this will do!

So there it is, a very "manly" bathroom for my big boys.

For other posts on our boys bungalow project go here.

Sharing here:
 Photobucket

 {Primp}
 shabby creek cottage

Friday, September 16, 2011

bungalow stage three

We have moved onto the final stage of the Boys Bungalow, B1 and B2's bedrooms.

First we had to relocate a red belly black, who had slithered through a tiny gap in the outside fibro and was residing in the wall cavity.
The internal walls here are fibro so we have decided to strip them and gyprock them.
This is the third time in our almost 11 years of living here we have done this space.
When we bought this place it was a half finished shed. 
VCH finished it off and we transformed it into a playroom/schoolroom.
However, after a while we decided it wasn't working and school moved inside, this area ended up becoming a junk space before we turned it into a bedroom for the two bigger boys and a storage area for clothes waiting to be worn.
This reno included putting in a ceiling and tiling the floor and a new paint job of course.
If you would like to see the boys room before go here:

 
 This was the first time VCH had put up a ceiling and he didn't glue it so it had sagged a little in this area, so he pulled down the gyprock in what will be B1's bedroom and out came the rat infested insulation as well- yuck!

Here is the frame up and B4 is fixing a screw from where the light was.

 This is other the wall of what will be B1's room, it will contain a linen cupboard in the hall way and a built in wardrobe for his clothes.

 Here you can see his wardrobe.
I am not big on built ins in kids bedroom because I think they restrict the placement of furniture - I like to rearrange things too much!
But in this case it was necessary because I really thought there needed to be a linen cupboard in the bungalow, so it made sense to make the other side a wardrobe.

This is the walled gyprocked.
Now that the electrician has been to wire up we can finish the gyprock on the walls and ceiling.

shared at:


Monday, August 8, 2011

games room floor

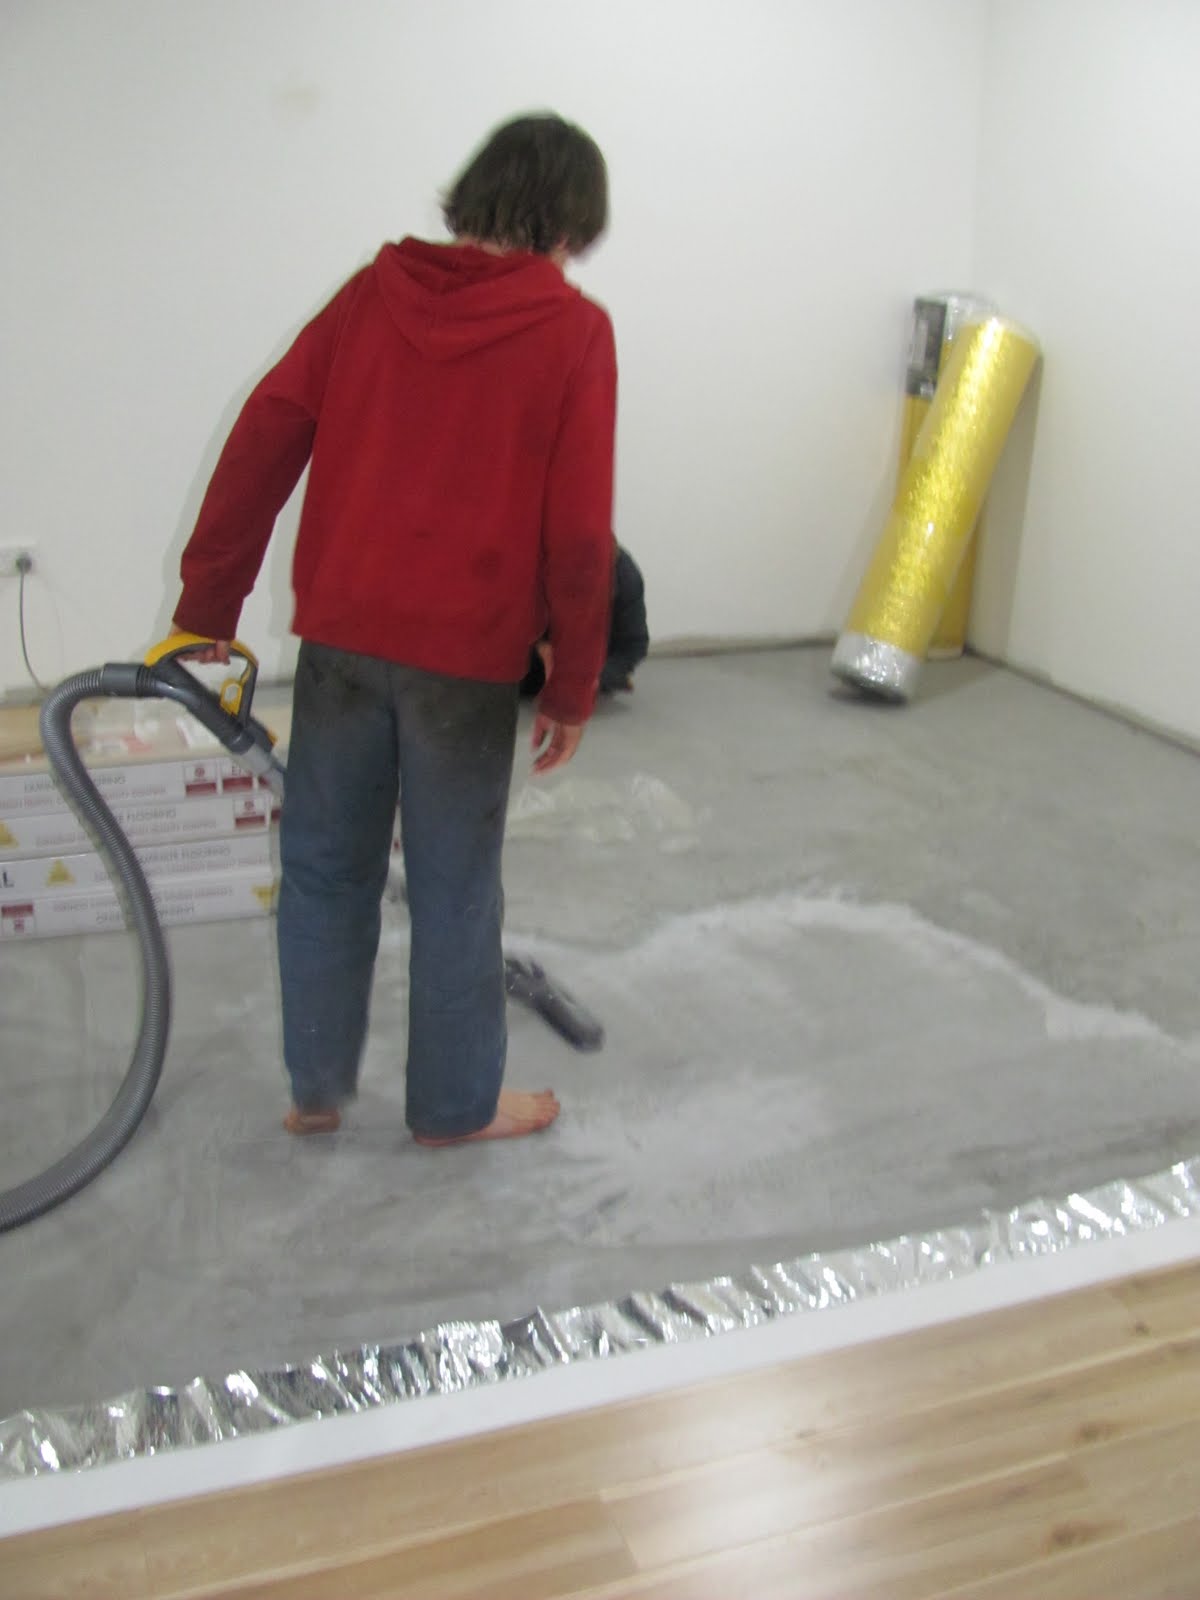
VCH has been working on the floor of the games room.

He was unsure about this as we wanted to put down the same boards we used in B3's room but the floor (which used to be the garage) was quite uneven and this is not good for a floating floor so he ended up getting a leveling compound and leveling the floor with that before laying the floorboards.
 
Here you can see the compound and parts where it wasn't needed.

 With the help of B3 and B4 he got the floor laid in about 3 1/2 hours on Friday night while B1 and B2 were out refereeing soccer.


Half done


Finished.
VCH just has to put in the skirting boards and this room is done- well except for the decorating, which of course is my department!

Saturday, July 16, 2011

just a quick easy job!?!?!

In the midst of building the Boy's Bungalow, VCH and I were discussing our laundry.
 Back at the beginning of the year our electric hot water system was playing up so we decided to replace it with gas.
We chose gas over solar because, we had solar in our house in town and it was a real nuisance.
When you ran out of hot water, if it had been cloudy for a few days, it would be the next day before you had hot water again because it was connected to the off peak- which of course meant it would not start heating up until that night, boiling jugs for washing up and to bath children is a real nuisance and we only had 3 then.
We still got a rebate for using gas so we went with that.

Anyway back to the story, this meant that we no longer had a hot water system in our laundry taking up space, the idea formed in my little head how I could re-organise my little laundry to be more user friendly.
Then one day VCH, all on his own, came up with virtually the same idea.
After this discussion, I called the cabinet maker that put in our kitchen and asked him for a quote.
The quote came back very reasonable and thinking that this would save VCH lots of time and energy in doing it himself, I went ahead.
However I didn't realise that in order to remove the old sink the tiles had to come off the wall, this meant the fibro came off with the tiles and this meant that VCH would have to re-sheet half the wall, and re tile, until our wonderful plumber came along to connect the Bungalow's water and septic, and had the brilliant idea to put all the plumbing and electricity for the washer into the lower part of the cupboard, so off came the rest of the wall, now VCH had to re-sheet the whole wall.
I also had forgotten that we put in the laundry cupboards before the tiles so of course now VCH also has to fix the floor tiles.
While looking at the resheeted wall he decided he may as well put in some new cornice rather than the yucky old beading that was originally there.
So what I thought was going to be a quick little job has turned into a major overhaul of our laundry!
So here is our laundry before:


Here is our laundry in the midst of being redone:

 new plumbing and pre wiring done

 You can see where the old cupboards were and where VCH has pulled out the partial tiles to fix this area- lucky we have some spare tiles!

 All the architrave around the window will have to be redone.

The rest of the wall the plumber pulled out.

 VCH has put in the new sheeting.

This is where our old hot water system stood, but this all gets covered by the new cupboards.

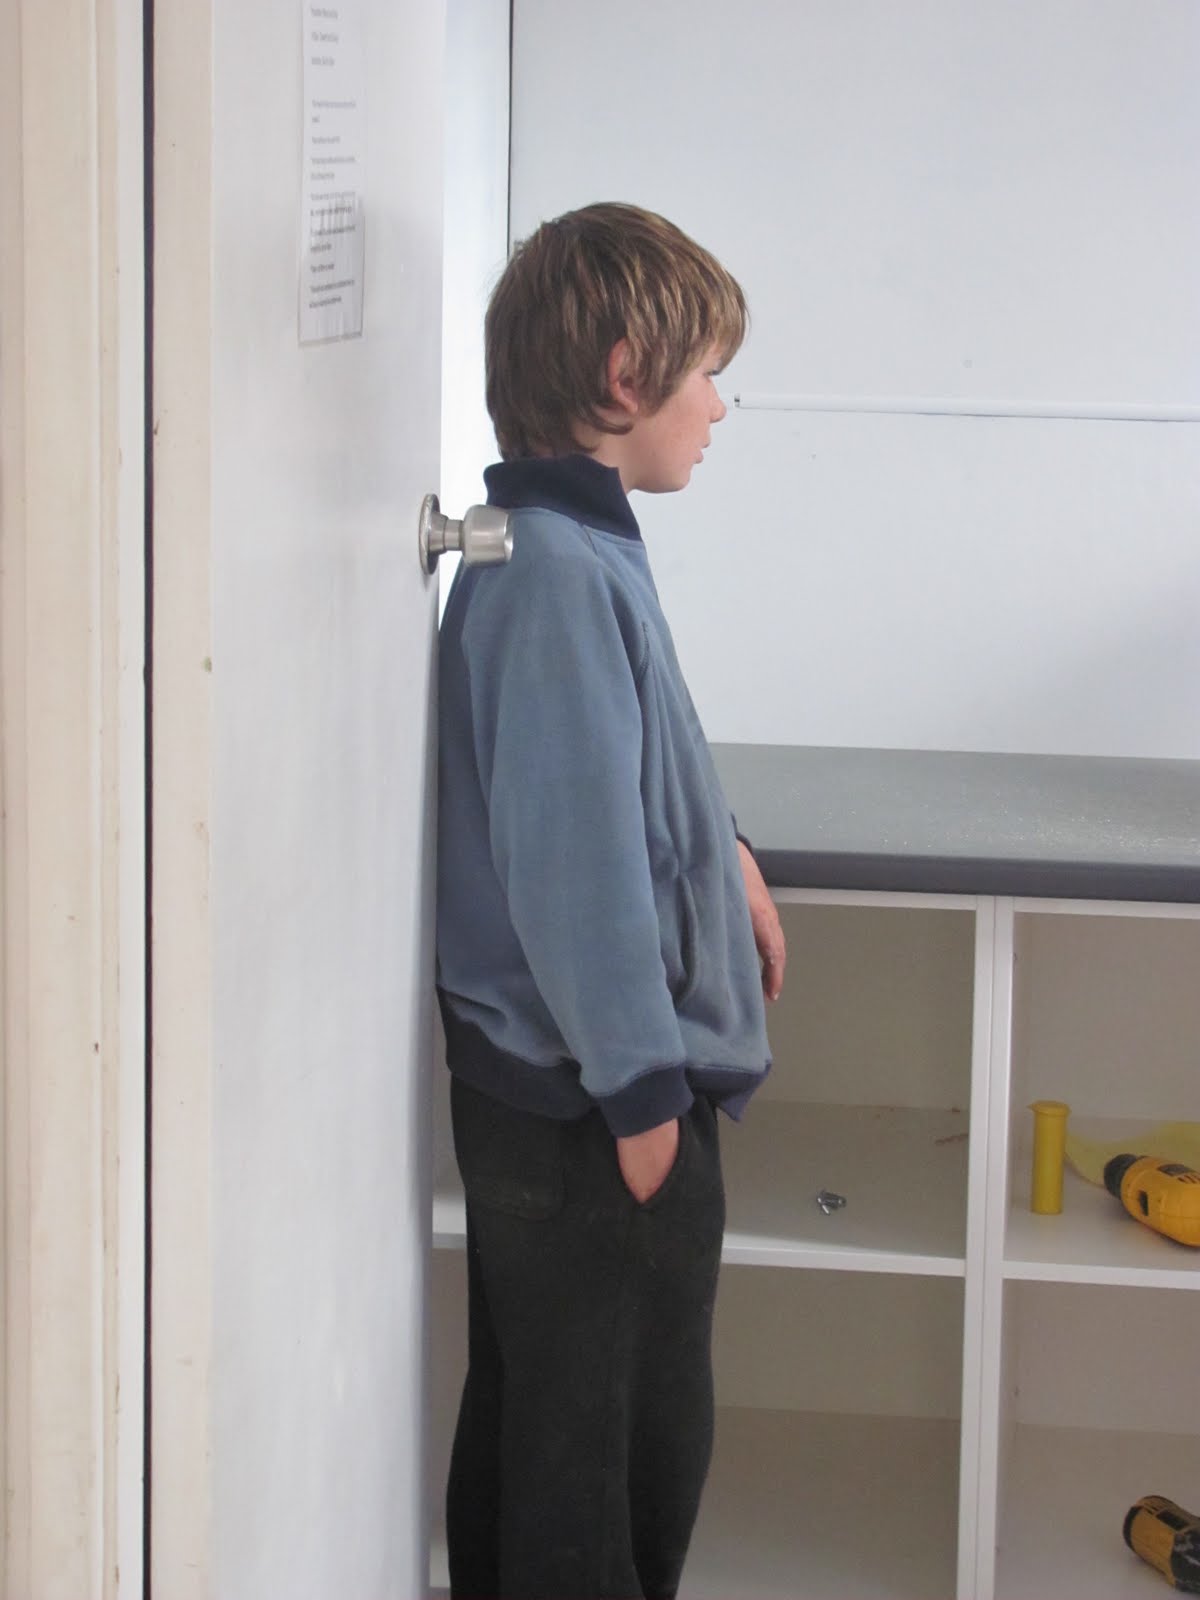
 B4 intently watching the instillation

 Here are the cupboards with the sink.
The washer and dryer will sit on top so no more bending!
The cubby holes are for washing baskets.

Here is an example of what they will look like, there are 6 (although we have put the kitty litter tray in one).
I need to decide whether to go with plastic baskets- squarer so will hold more and more practical around wet laundry or the cane, more vintage looking and asthetic appeal- what do you think?

I had originally chosen a lighter grey bench top but when I was at the showroom looking for the handles, I decided I liked the vintage look of these, so I ended up with a dark grey bench top to match, the cupboards are Parchment the same as my kitchen, the wall colour is Dulux: Antique White USA.
B2 has been painting the wall and as he didn't want to get any paint on the new bench he thought he would cover it with newspaper.


I don't think there is much chance of any paint spilling do you?
VCH will put the taps on tonight (hopefully), he worked this morning and is playing golf this afternoon.
I am going to accessorise in aqua and I have some cute art ideas to put together, so I will show you more when it is looking a bit more together.

Shared at: